This document is intended to cover all versions of WIndows from 7 onwards. Some windows may appear slightly different on later versions but all the same buttons and windows should appear.
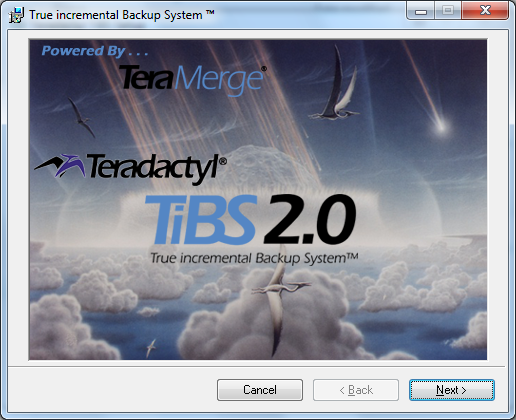
To begin installation, browse to the folder containing the client software and double-click on the "TiBS.exe" ("tibs") icon. If you get a "Do you want to allow..." window, click "Yes" to allow installation - which should give you the "Teradactyl TiBS Setup Wizard" window. Clicking on "Install" then takes you to the "Teradactyl TiBS 2.0" installer window:
Don't be alarmed by the fact that we are in fact running TiBS 3, the installer doesn't seem to have been updated to reflect the version increment.
Click on Next. Click on Next again. Read through the licence agreement on the next page and - if you are happy - click on the button marked I agree and then once more on the Next button.
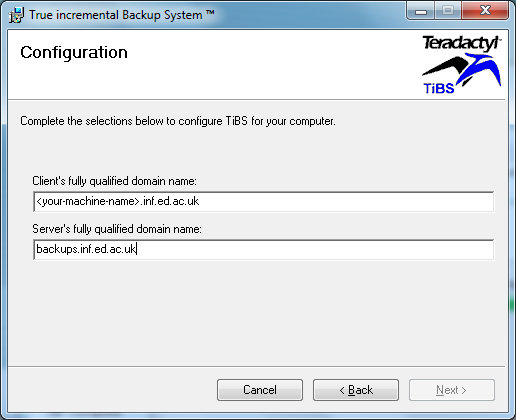
Fill in the fields on the following page as in the example below, substituting as appropriate. The Hostnames section in the general instructions page above explains what to put in the Client's fully qualified domain name box and the Server's fully qualified domain name should always be "backups.inf.ed.ac.uk":
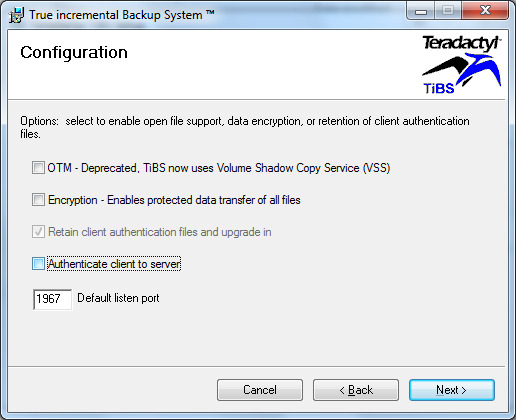
Click Next again, and in the following window click set the tick-boxes as shown below (the OTM tick box may not appear):
Click on Next once more, to get to the "Select Installation Folder" window. Using the default should be OK, but feel free to change it.
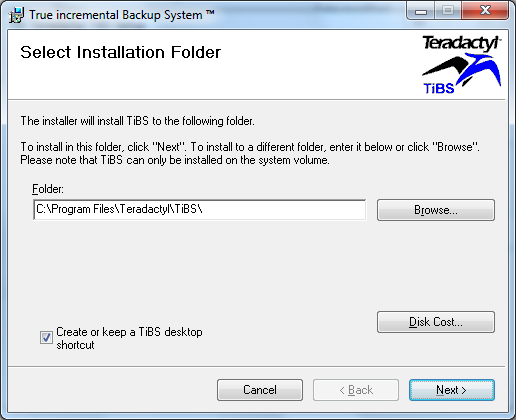
If you are happy with the default location, press Next again. Feel free to click on the "Create a TiBS desktop shortcut" if you wish (this is highly recommended for roaming clients).
Click Next to confirm installation, and the TiBS client software will be installed.
Click Close once the "Installation Complete" window appears (if it doesn't appear contact Support). If the installation completes without error, you are done. Reboot your machine for the installed software to take effect.
Now go back to the "Getting Support to activate your machine on the backup server" section in the general instructions.
If you get a message about authentication failing, complete the following steps:
Click on Windows' start button, click on "All Programs", then "Accessories" and then RIGHT-click on "Command Prompt". Choose "Run as administrator" from the menu that appears and then click on the 'Yes' button in the following "Do you want to allow..." window.
Once the command prompt window appears, type the following commands in it:
cd \program files\teradactyl\tibs
.\tera -A
You should then get the message that the "Server registration completed successfully".
If you get a different message, please contact Support. Assuming that all is well, close the command window and go back to the "Getting Support to activate your machine on the backup server" section in the general instructions.
Opening up a firewall hole
To allow the backup server to contact the backup daemon on your machine, you must open up a hole (or "exception" in Windows nomenclature) in the Windows firewall. Precisely how this is done will depend on the Windows version but the following guidelines should be sufficient to get it done:
- Click on the "Start" button then select "Control Panel" from the right hand menu
- Click on the "System and Security" option.
You should see the following window:

Click on "Allow a program through Windows Firewall", which should give you a tick-box list similar to othe following:
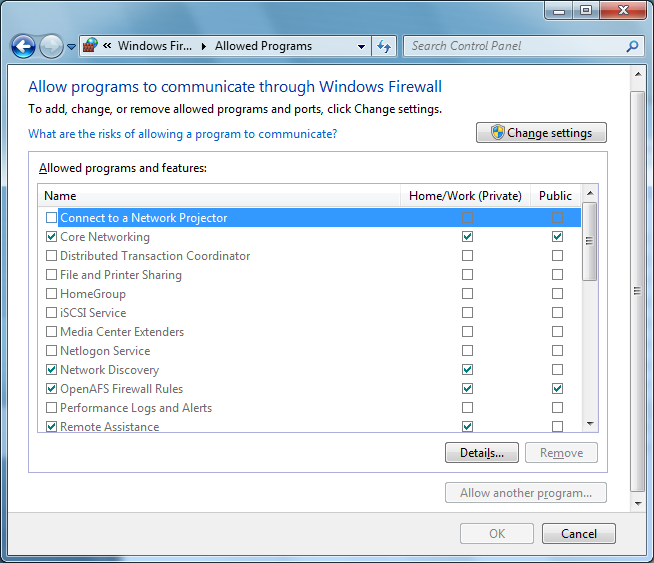
Click on the button marked "Change settings" at the top right and then click on the button marked "Allow another program...". This is what you'll see...
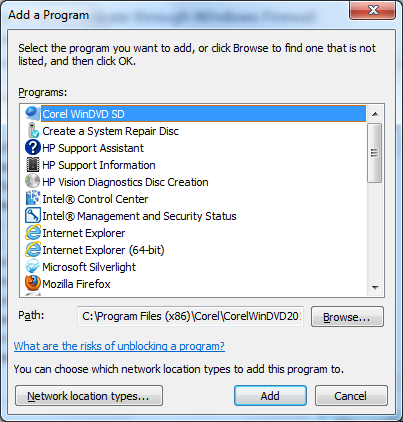
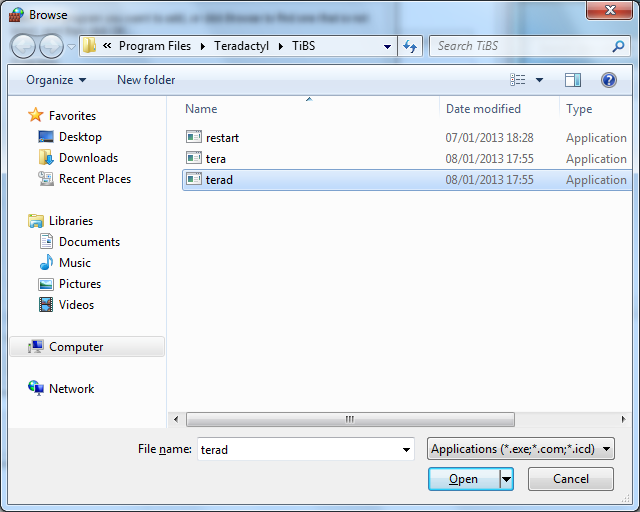
Click on the "Browse" button and browse to "c:\Program Files\Teradactyl\TiBS", then click once on the "terad" program and then on the "Open" button on the bottom right of the window:
Click "Add" in the following "Add a Program" window, and then "OK" back in the main Firewall window.
Once this process is complete, you should see a TiBS icon on the desktop - and clicking on this icon will back up your machine. Note, however, that this requires administrator permissions to run.
Now go back to the "Activating and Running backups" section in the general instructions .