This page explains how to use gnome-disks on DICE to make an encrypted USB stick. Note that this will destroy any existing data on the USB stick. If your USB stick has files which you want to keep, copy them off the USB stick before proceeding.
These instructions were tested on Ubuntu 24.04 (Noble Numbat).
- Insert your USB stick into the DICE machine.
- Start 'Disks' (
gnome-disks). This can be done in MATE with
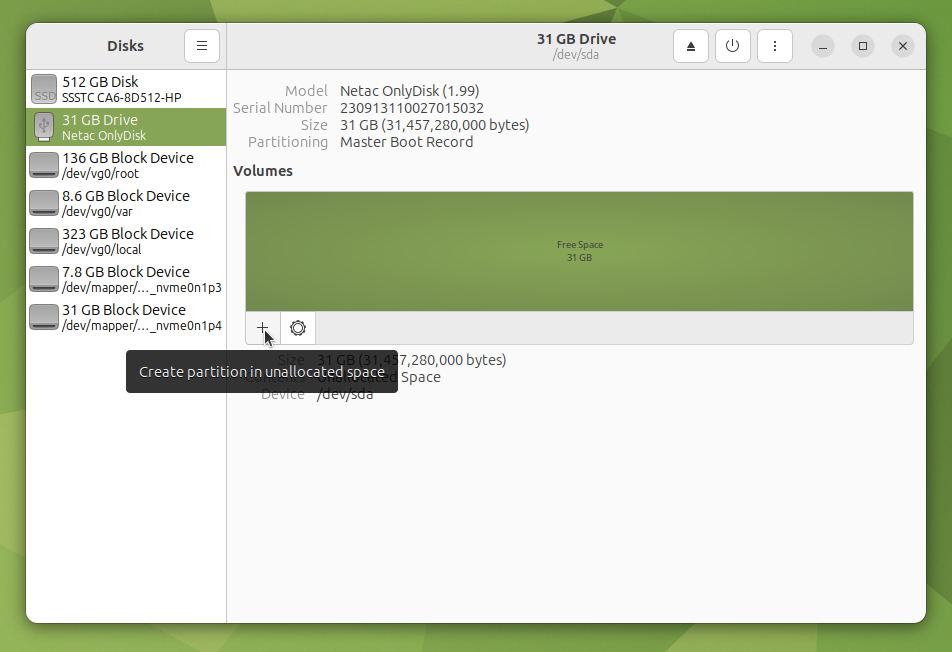
Menu -> Preferences -> Disks, in GNOME by searching for 'Disks', or by typinggnome-diskson the command line in a terminal window. - Disks will display a list of storage devices in a column on the left hand side. Click on your device (in this case a 31 GB Drive Netac OnlyDisk) to display options for your device.

- Delete the existing partition on the stick by clicking the red
-button. Note that this will destroy any existing data on the USB stick. Check you've selected the correct drive and confirm this action.


- You should be left with a blank disk. Click the
+button to create a new partition.

- Select the size for the partition. Usually you want to select all of your drive by moving the slider to the right. Click on 'Next'.
- Give your volume a name and change the 'Type' to "Internal disk for use with Linux systems only(Ext4)". It is not necessary to enable 'Erase'. To enable encryption, make sure that "Password protect volume (LUKS)" is checked. Click on 'Next'.

- Set the password for your volume. If you forget this password it will not be possible to recover you data. Try to set a 'good' or better password using the strength meter.

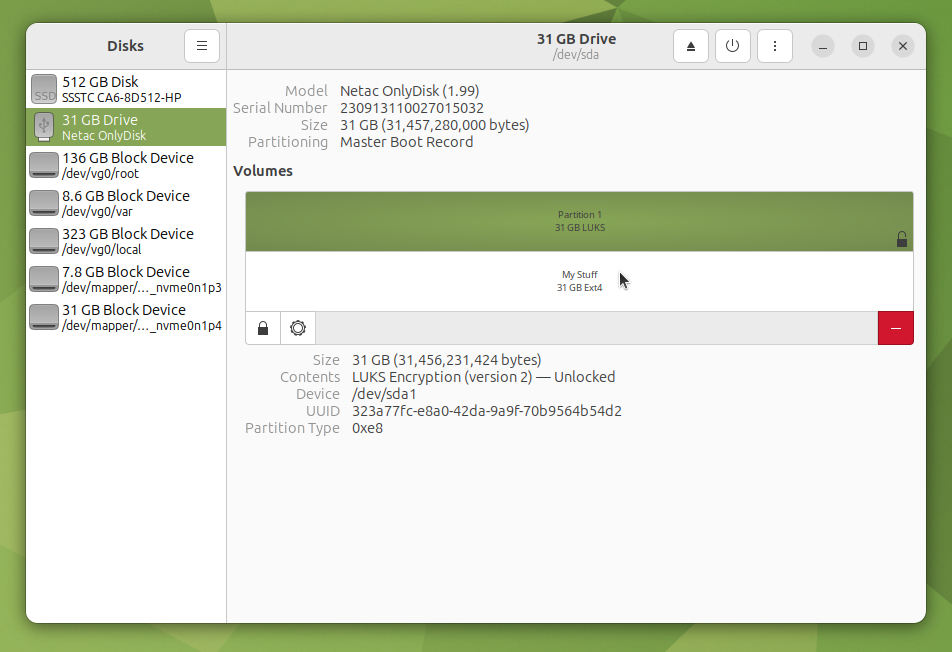
- The encrypted volume and filesystem will now be created. This may take some time, particularly with large USB sticks, or if you chose the 'Erase' option previously. Once the partition and volume have been created, you should see something like the following. There is an encrypted container partition called "Partition 1" with type "31 GB LUKS", and the encrypted filesystem partition that is inside the container called "My Stuff" (the name we entered earlier) with type "31GB Ext4".

- Select your volume ("My Stuff"). You can now perform actions on your volume. Mount your volume using the play button (the triangle):

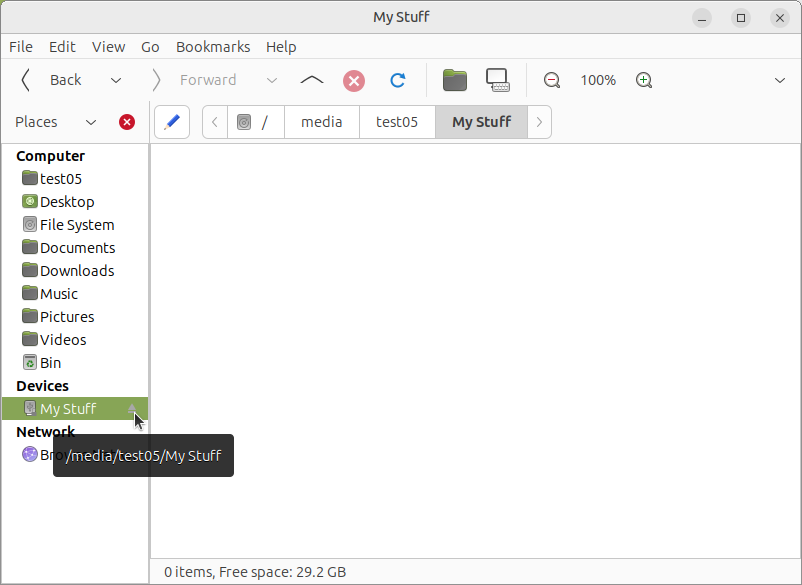
- Your volume should now be mounted and accessible. You should be able to see your volume on the desktop or in the file manager. Alternatively, you can access your volume from the command line (using
"/media/username/volume name", including the quotes if your volume includes spaces). - In future, when you plug in your USB stick to a DICE PC, the following pop-up window will appear asking for your pass-phrase. If you type the correct pass-phrase, your stick will be mounted as before.

- When you've finished, you can 'eject' the USB stick. This will make sure you do not lose data. If you have 'Disks' still open, you can use the eject button (a triangle atop a line).

- The device can be ejected in a file browser (such as
caja) by clicking the eject symbol next to the volume name, or selecting 'Eject' by right-clicking on the volume icon and selecting the 'Eject' entry.


Last reviewed:
25/08/2025
